Blog
Can You Put Self-Leveling Concrete Over Existing Concrete in Houston, TX IMG

Can You Put Self-Leveling Concrete Over Existing Concrete in Houston, TX?

Alison R. Sinclair | 13 Jun 2025

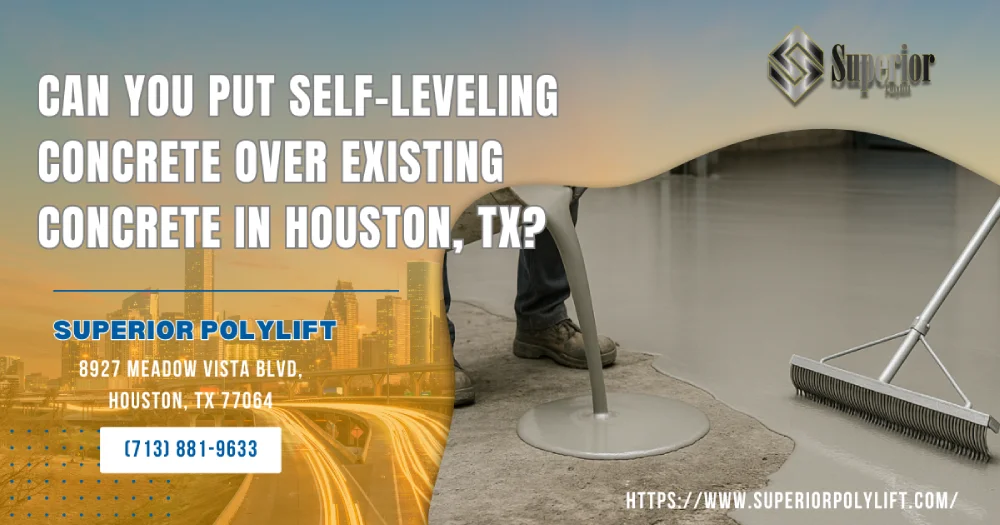
Wondering if you can refresh an uneven concrete floor without tearing it out? Yes, self-leveling concrete can be applied over existing concrete in Houston, TX, provided the slab is structurally sound and properly prepared. The existing concrete surface must be cleaned, profiled, and primed so the new level concrete bonds securely. When you pour self-leveling concrete correctly—following the manufacturer’s instructions and industry standards—you gain a smooth and stable layer that supports heavy foot traffic or machinery within days.

Key Takeaways

  • Proper surface preparation—cleaning, degreasing, and mechanical profiling—accounts for almost 80 % of overlay success, so allocate ample time and use industrial grinders or shot blasters to create a CSP 3–4 texture that anchors the new material.
  • Moisture vapor transmission in Houston’s humid climate can blister or delaminate a topping; perform ASTM F2170 in-slab tests and keep readings below 75 % RH or install a moisture-mitigation epoxy before you pour and spread the self-leveling compound.
  • Choose a self-leveling compound formulated for the expected load—light-duty foot traffic, forklift lanes, or high-bay rack systems—because compressive strengths vary from 4,000 psi to 6,500 psi and directly impact long-term concrete repair reliability.
  • Maintain substrate and ambient temperatures between 50 °F and 90 °F with low wind to avoid flash drying; rapid moisture loss can craze the surface and reduce bond strength by up to 40 % in large-scale pours.
  • For expansive industrial facilities, schedule heavy traffic only after the stated cure—often 24 hours for walk-on and 72 hours for equipment—ensuring the new layer of self-leveling concrete reaches its designed strength and avoids ruts or dips.

Why Self-Leveling Concrete Is a Smart Choice for Existing Slabs

Before committing to demolition, you might wonder what benefits self-leveling concrete actually delivers. Understanding self-leveling concrete and its advantages helps you decide if the process aligns with your facility’s performance goals, downtime tolerance, and budget constraints—especially under Houston’s demanding environment.

Overlay ThicknessCoverage Rate (per 50-lb bag)Typical Compressive StrengthRecommended Uses
1/4 in. (6 mm)23–25 sq ft4,000 psiCosmetic smoothing, light traffic areas
1/2 in. (13 mm)12–14 sq ft5,000 psiProduction aisles, warehouse corridors
1 in. (25 mm)6–7 sq ft6,500 psiForklift lanes, heavy-duty storage zones

Understanding Self-Leveling Concrete

A Portland-cement or calcium-aluminate base is blended with polymers that promote flow. Mixed with water, the product is designed to flow and settle under its own weight, filling low spots and eliminating imperfections without extensive troweling. Rapid setting times bring the concrete floor back to service quickly—often ready for foot traffic in 4–6 hours, depending on the product.

Benefits of Self-Leveling Concrete for Houston Climate

Houston’s high humidity and temperature swings can crack traditional concrete mix toppings. Polymer-modified self-leveling concretes flex slightly with thermal movement, resist moisture penetration, and cure fast—helping industrial schedules stay on track. Superior PolyLift™ uses state-of-the-art pumps that maintain mix consistency, ensuring a level surface every time.

Limitations and Considerations

Self-leveling concrete won’t fix structural damage. Large cracks, moving joints, or differential settlement need concrete repair methods such as polyurethane foam injection, mudjacking, or replacement with new concrete. Always verify compatibility with coatings, polished concrete finishes, or epoxy underlayment systems planned for the new surface.

Preparing Existing Concrete for a Successful Overlay

Preparation determines whether your overlay bonds or breaks apart. The following step-by-step guide outlines the tasks you—or your chosen leveling services contractor—must perform to achieve proper adhesion of the self-leveling material.

Clean the Surface and Profile the Slab

  • Degrease with an industrial cleaner to remove oils and wear and tear contaminants.
  • Shot blast or diamond-grind to achieve a CSP 3–4 texture, exposing sound paste, removing dips, and opening pores for mechanical lock.
  • Vacuum the concrete surface thoroughly so no dust interferes with bonding.

Use a Primer or Bonding Agent

  • Apply a manufacturer-approved acrylic or epoxy primer within its open window to ensure a smooth yet gritty tack.
  • Back-roll to eliminate puddles and ensure uniform coverage; uneven surface primer application is a common pitfall that can cause delamination over time.

Moisture Testing Requirements

  • Perform ASTM F2170 relative-humidity probes at three depths; record results for QA/QC.
  • If readings exceed limits, install an epoxy moisture-mitigation system or a polyurethane foam vapor barrier before applying self-leveling concrete over existing concrete.

Application Steps for Self-Leveling Concrete

With the slab clean, dry, and primed, attention shifts to mixing, placing, and curing the self-leveler. Each stage has tight tolerances.

Mixing Guidelines

  • Use a high-shear paddle and potable water within the recommended ratio to avoid an overly wet concrete mix.
  • Batch consistently; temperature-adjust water so every self-leveling compound mix flows identically, helping you achieve a smooth, level concrete floor.

Pour and Spread the Material

  • Pump or bucket-pour in ribbon patterns while a gauge rake distributes material to the specified thickness.
  • Spike-roll immediately to release air, blend pours, and avoid surface imperfections—a critical step when leveling your existing concrete.

Curing and Protection

  • Maintain 50–90 °F ambient temperature; erect windbreaks or vapor barriers as needed.
  • The surface is typically ready for foot traffic in 4–6 hours and heavy loads in 24–72 hours, depending on the product and slab conditions. Monitor drying time and keep the area free from vibration to prevent settlement dips or ridges.

Common Pitfalls When Leveling in Houston

Even high-quality materials can fail if shortcuts are taken. Avoid these common pitfalls:

  1. Skipping Moisture Testing
  2. Ignoring Temperature and Humidity
  3. Overwatering the Mix
  4. Neglecting Primer Open-Time Windows
  5. Attempting to Level a Severely Damaged Concrete Slab Without Proper Repairs

Spotting signs of serious substrate movement early helps you choose the right method—whether self-leveling, polyurethane foam lifting, or full-depth replacement.

Hiring a Professional Contractor in Houston

Self-leveling work looks simple but requires experienced crews, specialized pumps, and tight logistics. Superior PolyLift™ offers Houston concrete leveling solutions that deliver smooth and stable surfaces across industrial properties.

Qualifications to Look For

  • Manufacturer certifications for the specific self-leveler planned.
  • Proven portfolio of concrete leveling services greater than 10,000 sq ft.

Questions to Ask

  • What moisture-mitigation plan do you follow for Gulf Coast humidity?
  • How will you maintain temperature control during placement?

Typical Timeline and Costs

  • • A 20,000 sq ft overlay at 1/4 in. thickness often completes in two days—one for prep, one for pour.
  • • Expect $2.50–$4.50 per sq ft, varying with thickness, primer type, and logistics.

Conclusion

Self-leveling concrete over existing concrete is an efficient, cost-effective way to level a concrete floor and create a new surface ready for industrial use. By following meticulous surface preparation, moisture control, and curing protocols, you ensure proper adhesion and long-term performance—even under Houston, TX, conditions. Need to level uneven floors or address an uneven concrete slab? Contact Superior PolyLift™ for state-of-the-art leveling services that minimize downtime and maximize durability.

Can You Put Self-Leveling Concrete Over Existing Concrete in Houston, TX QR
FAQs
Most products allow a single lift from 1/8 in. to 1 in., though specialty versions handle up to 2 in. Always check the data sheet, because exceeding the maximum thickness can trap moisture, extend drying time, and weaken the overlay.
Standard self-leveling compounds are intended for interior environments. However, outdoor-rated blends exist, featuring improved freeze-thaw resistance and UV stability. Verify the product’s specifications before selecting it for exterior dock ramps or loading zones.
A polished concrete surface is too dense for reliable adhesion. You must mechanically grind the polish off, creating a CSP 3–4 profile, then apply an appropriate primer to establish a solid mechanical and chemical bond between the two layers.
Yes, once the self-leveling underlayment cures fully and meets moisture-emission limits. Lightly abrade the surface, vacuum it clean, and prime per the epoxy manufacturer’s recommendations to ensure a smooth, seamless finish.
Higher temperatures accelerate hydration, sometimes cutting working time in half. Plan early-morning pours, use cool water, and keep bags in the shade to maintain flowability while preventing surface crusting and cracking.
Look for puddling water, forklift wheel dips, tripping hazards, or difficulty anchoring equipment. These signs of serious unevenness indicate you need concrete leveling to ensure operational safety and precision.
Mudjacking lifts a settled slab from below using a sand-cement grout, while self-leveling concrete creates a new, thin-bonded layer on top. Each method solves different problems; sometimes a combination is best for long-term stability.
Some industrial-grade self-levelers are formulated as wear-topping overlays, eliminating the need for an additional finish. They offer high abrasion resistance and can be polished. Verify compressive strength and wear ratings before relying on the material as the finished floor.
Epoxy, urethane, tile, sheet vinyl, and carpet tiles all bond well once moisture readings are within spec. Always follow the flooring manufacturer’s guidelines to ensure compatibility of adhesives and underlayment.
Depending on product and slab thickness, heavy machinery should wait 48–72 hours. Early loading risks indentations and reduced compressive strength. Confirm readiness with a simple surface-hardness test before resuming full operations.
Find Out How We Can Engineer a Solution For You
Superior Polylift Logo
A Division of Superior Grouting
crossmenu linkedin facebook pinterest youtube rss twitter instagram facebook-blank rss-blank linkedin-blank pinterest youtube twitter instagram Skip to content